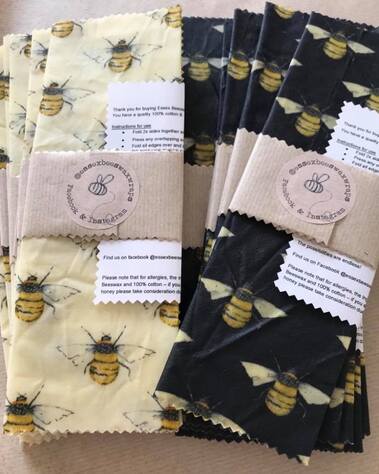
Making and Maintaining Your Beeswax WrapWe're a big fan of beeswax here at Mersea Mudd Shack, so much so, we've built a business on it!! Beeswax is a truly versatile material and it's uses are almost endless, but one of our favourites is the beeswax wrap. A simple plastic free swap, a beeswax wrap replaces your cling film, going around sandwiches in your lunch box, ends of cheese in the fridge, over bowls of leftovers. Basically anywhere you use cling film, a beeswax wrap can be used instead! You can even use them to make piping bags, to open difficult jars, or to wrap up toothbrushes or soap for when you're on the move. Our beeswax wraps are made using 100% cotton fabric and local beeswax. That's it!
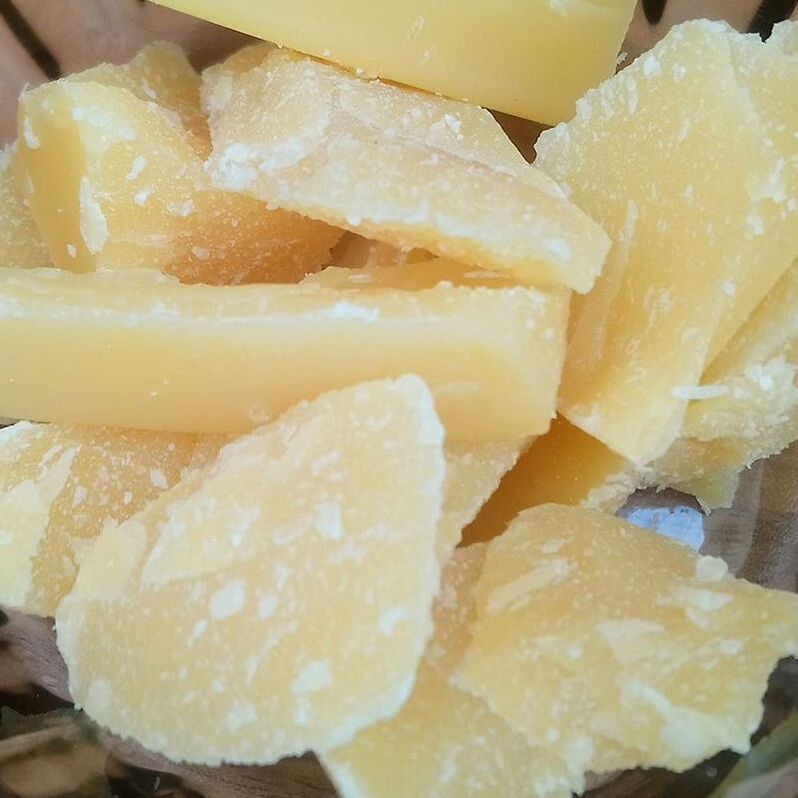
When you first receive your wrap, it may be a little stiff from being folded and sent out. Just open it up and give it a wiggle to revive it! Flexing it and folding it will have it ready to use in no time. When you're ready to use it, just use the heat of your hands to mould it over whatever you have chosen to wrap up. The beeswax is naturally adhesive, and your wrap will seal around your food. Beeswax wraps shouldn't be used with hot foods as it will melt the wax off, naked flames should be avoided, as should ovens and microwaves. We also advise you not to store raw meat or fish in them, to avoid contamination. refreshing your beeswax wrapBeeswax wraps will last up to a year before they need some attention. You may notice at this point that they start to lose their stick, or notice a lack of wax. At this point, you can revitalise your wrap by just popping it in the oven for a few minutes. Preheat your oven to 60 degrees, pop your wrap on some baking paper, and place it in the oven for 3-4 minutes. Keep a close eye on it. When the wax has melted, take it out and just waft it about until cool. You can also do this with an iron, using two sheets of baking paper (one on top, one underneath), re-melting the beeswax and cooling again. If you've already tried this, or they're just a bit past it, then you can give them a fresh coat of beeswax using one of our beeswax blocks. Grate the beeswax onto your wrap and use either the oven or the iron technique we mentioned a minute ago. Beeswax wraps should last a lifetime, with care and refreshing. But if something terrible happens, and they are no longer useable you can pop them in your compost. Or why not try making eco-friendly fire lighters, by cutting them up into strips and scrunching them into balls. They burn beautifully slowly and are perfect for log burners and campfires alike.
You can also make beeswax wraps from scratch yourself. Again by using either an oven or an iron and some baking paper to melt the beeswax onto some 100% cotton fabric. Getting the right amount of beeswax takes a little practise, but start small and you can always add more if you don't have enough! To make it easier, we've created a 'Make Your Own Beeswax Wrap Kit' which has everything you'll need! More than 1.2 billion metres, or 745,000 miles of cling film is used in the UK every year. Cling film is difficult to recycle, and the majority of it ends up in landfill where is takes 100s of years to degrade and can end up in our oceans. Yes, disposable is more convenient, but beeswax wraps are definitely a more eco-friendly alternative. And they're far prettier too!
1 Comment
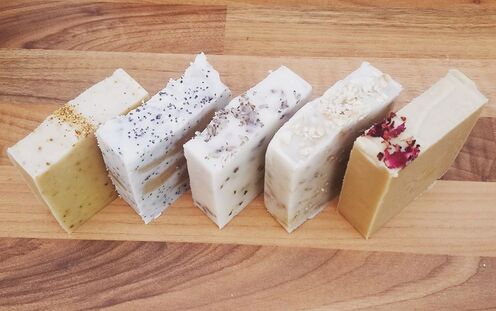
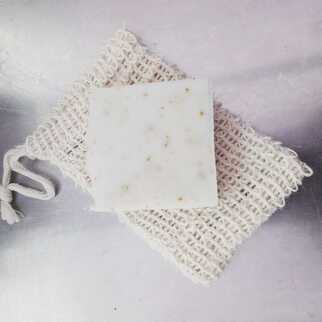
As we mentioned in our previous blog, your bar of soap will gradually get smaller the more you use it, and you will end up with small pieces of soap that are just too small to get hold of. At this point you could pop them in your soap bag, or you could get crafty and make your own liquid soap! This recipe makes enough soap to fill around 4 soap dispensers. If you don't have that many dispensers, don't have enough soap left overs, or just don't need that much soap, you can always halve the recipe to suit!
|
Plastic Free Blog
|
 RSS Feed